How to Install VPN on iPhone: App and Manual Setup
Installing a VPN on an iPhone usually takes only a few minutes. For most users, the easiest method is to install a provider's official app, approve its VPN configuration, and connect. If you have server details from an employer or VPN provider, you can also configure an IKEv2 connection manually. This guide covers both methods, how to check that the connection works, and what to do if it fails.
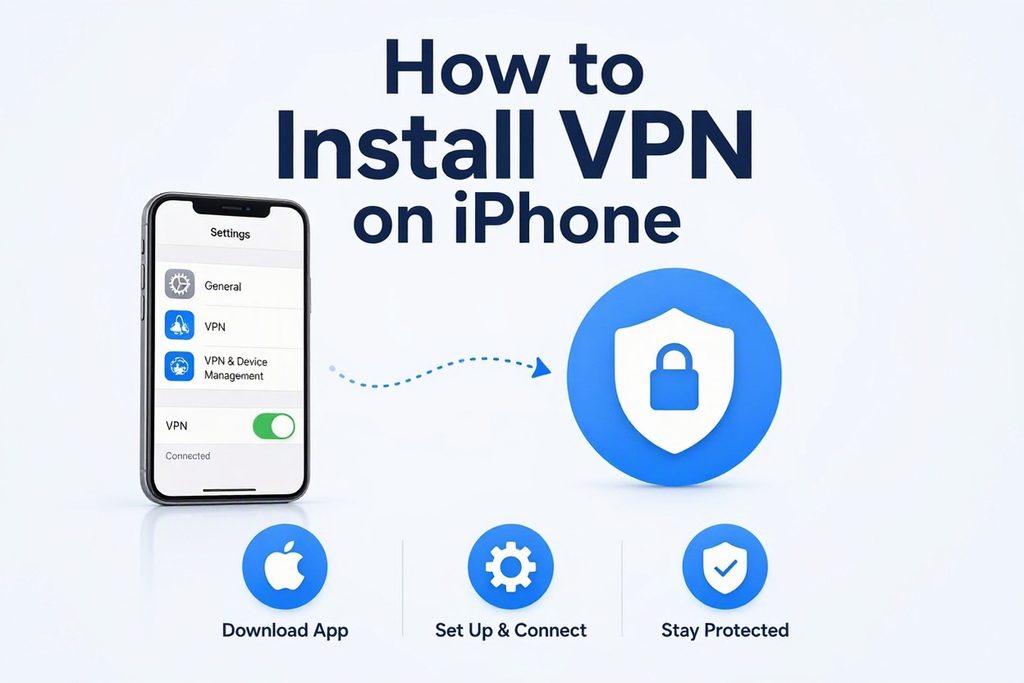
How to Install VPN on iPhone: Quick Steps
For a typical personal VPN, follow these steps:
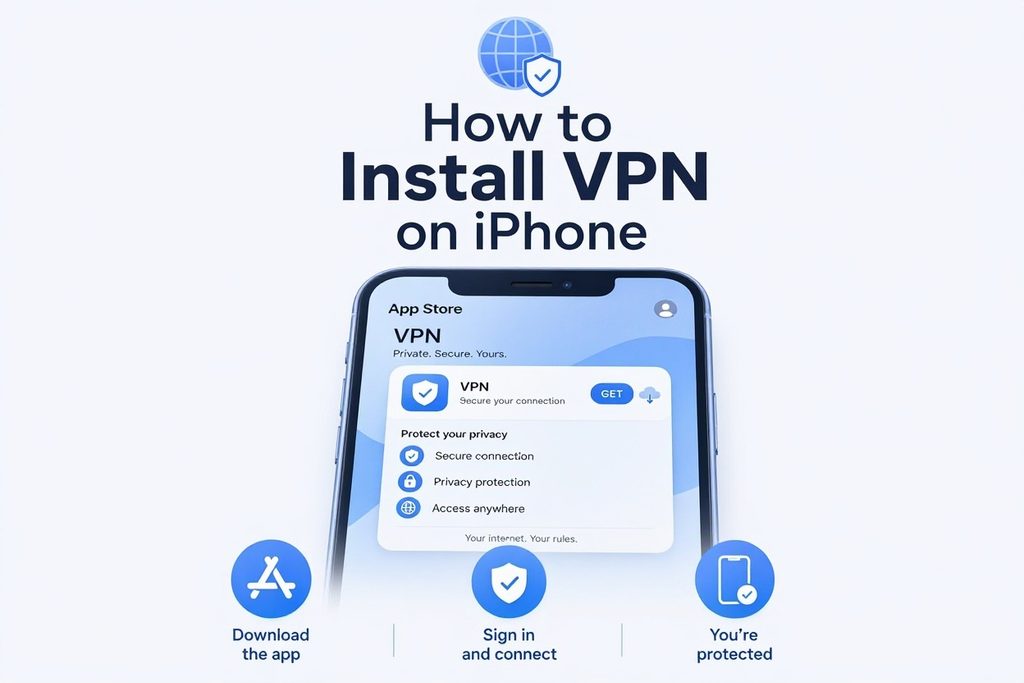
- Find your VPN provider's official app in the App Store.
- Install it and complete any required sign-in or account setup.
- Tap Connect or the equivalent button.
- Tap Allow when iOS asks to add a VPN configuration.
- Confirm with your device passcode or authentication if prompted.
- Wait for the app to show an active connection.
- Check the VPN status and public IP address to verify the basic setup.
Most commercial VPN apps handle the technical details automatically. You generally do not need to enter server addresses or authentication identifiers in iPhone Settings.
Method 1: Install a VPN Using an iPhone App
An official app is the simplest choice for most beginners because it handles connection setup, available servers, and supported protocols in one place.
Step 1: Download the Official App
Open the App Store and search for the service you intend to use. Check the developer's name before tapping Get, since similarly named apps can appear in search results. Review the provider's privacy policy and subscription terms, too. The Federal Trade Commission's VPN guidance explains why researching an app's operator and data practices matters.
Once installation finishes, open the app. You do not need to open the iPhone's VPN settings first.
Step 2: Complete the Initial Setup
Some providers require an account, while others permit limited access without registration. Follow the app's instructions to sign in, activate an existing subscription, or select an available plan. A free download does not necessarily mean the VPN service itself is free.
At this stage, the app may be installed without an active VPN tunnel. The system configuration is usually added when you connect for the first time.
Step 3: Connect and Approve the iOS Request
Tap Connect, Quick Connect, or the provider's corresponding button. An app may select a nearby server automatically or ask you to choose a location. For your first connection, the recommended location is usually a sensible starting point.
If iOS asks whether the app may add VPN configurations, choose Allow and confirm with device authentication if requested. This is normal: the app needs a system-level configuration to route supported traffic through its VPN tunnel. Apple's Personal VPN documentation explains how compatible apps manage these connections with user authorization.
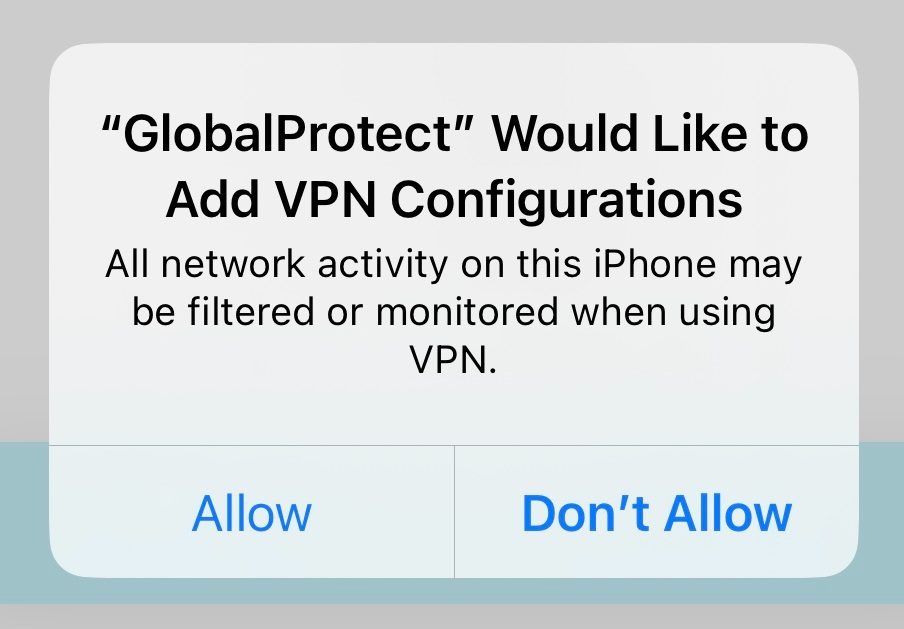
The permission does not give the app unrestricted control of your phone. Nevertheless, VPN traffic may pass through the provider's infrastructure, so choose a service whose privacy practices you trust.
Step 4: Confirm the Connection in the App
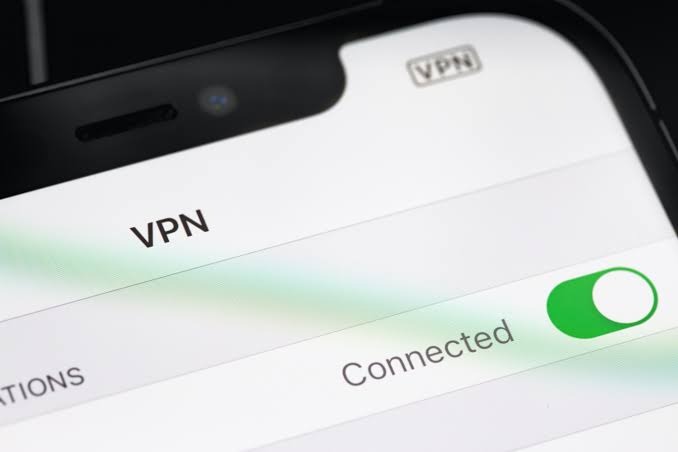
Once connected, the app should display a status such as Connected or Protected. You can usually change server locations and supported protocols within the app later, although the options depend on the provider and plan.
If the app reports a failed connection, do not start changing technical values in Settings. Use the troubleshooting steps below first.
How to Check If Your VPN Is Working
A connected status is a useful first check, but it is worth confirming what the iPhone and your browser show.
Check the Status in Settings
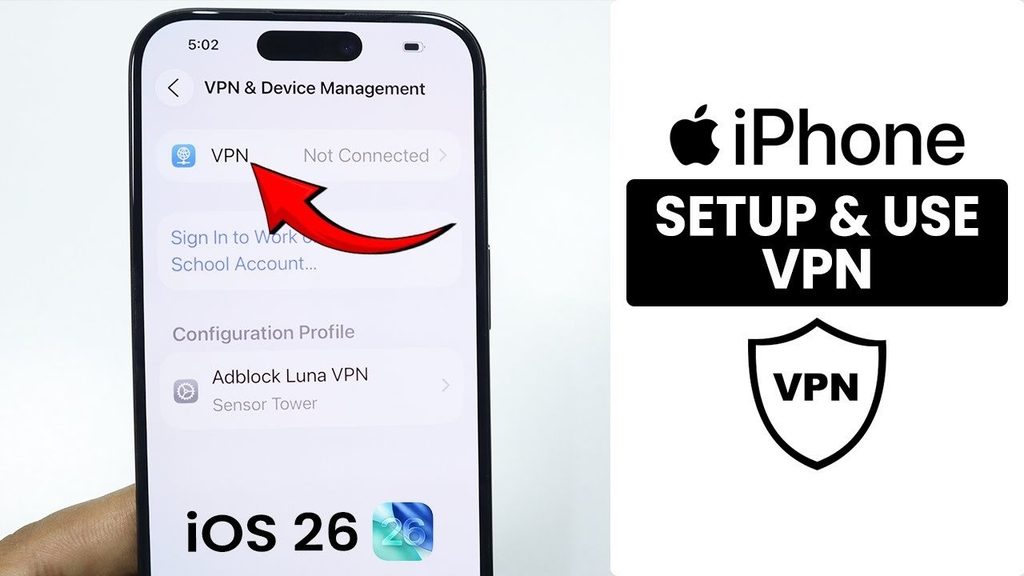
Open Settings → General → VPN & Device Management → VPN. The saved connection should appear with its current status. The iOS screen and the provider's app should generally agree about whether the VPN is active.
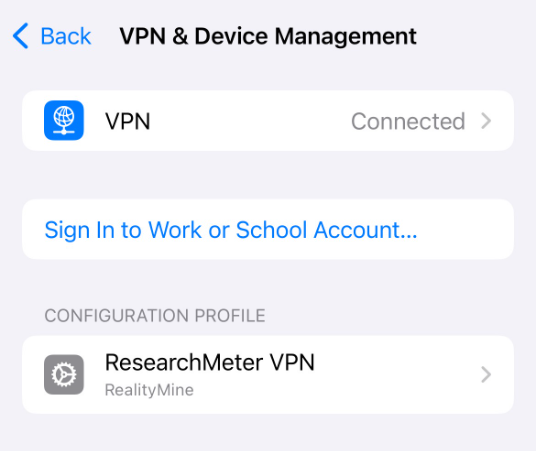
Keep in mind that an active tunnel does not prove all traffic is using it. Some configurations have routing exceptions, so checking the public IP provides a second, limited test.
Compare Your Public IP Address
- Disconnect the VPN, open Safari, and search for what is my IP.
- Write down the displayed public IP address.
- Connect to the VPN, refresh the result, and compare the addresses.
If Safari's traffic is routed through the VPN, the visible IP should normally change to the VPN server's address. A change in the approximate IP location does not mean your iPhone's GPS location has changed.
This check confirms basic routing, not complete privacy or protection against DNS leaks. For most beginners, though, matching connection statuses and the expected IP change are enough to confirm the installation worked at a basic level.
Method 2: Set Up an IKEv2 VPN Manually
Manual configuration is useful when an employer, school, network administrator, or VPN provider supplies the exact connection information. It does not create a subscription or VPN server on its own.
Step 1: Open the Configuration Screen
Go to Settings → General → VPN & Device Management → VPN → Add VPN Configuration. Choose IKEv2 only if that is the connection type specified in your instructions.
Step 2: Enter the Supplied Details
| Field | What it means |
| Description | A recognizable name for the connection |
| Server | The supplied VPN server hostname or IP address |
| Remote ID | Identity expected from the remote VPN endpoint |
| Local ID | Client identifier, if the configuration requires one |
| Authentication | The method used to authorize the connection |
| Username, password, or certificate | Credentials supplied by the provider or administrator |
The Description is only a label, but the other values determine whether the iPhone reaches and authenticates with the intended server. In particular, Remote ID is not automatically interchangeable with the server hostname.
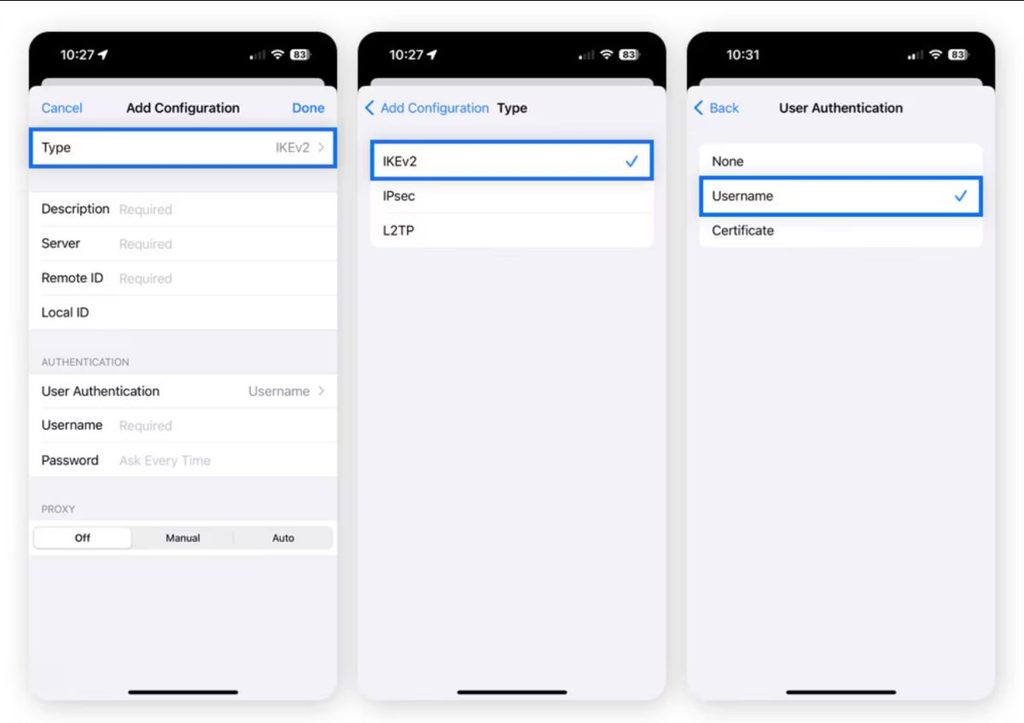
Do not invent missing fields or reuse credentials from an unrelated account. Ask the administrator for the correct details.
Step 3: Save and Connect
Save the configuration, select it, and activate the connection. If the connection fails, check the values against the original setup instructions, especially the server address, identity fields, and authentication method. On managed devices, additional certificates or policies may be required.
VPN App vs. Manual Setup: Which Is Better?
| VPN app | Manual configuration |
| Better for most personal users | Useful for company, school, or custom networks |
| Usually configures itself | Requires accurate server and identity details |
| Server choices and updates are managed in the app | Settings may depend on an administrator |
| Usually easier to troubleshoot through provider support | May require organization-specific support |
Use the app when your VPN provider offers a supported iPhone application. Manual IKEv2 setup makes sense when you have been instructed to use it and have the necessary information. Recreating a working app connection manually adds complexity without a clear benefit. If you prefer not to pay for a subscription, you can also explore a Free VPN for iPhone and check which providers offer app-based or manual setup options.
What to Do If the VPN Does Not Connect
Installation can succeed even when the network connection fails. A server may be unavailable, a network may restrict VPN traffic, or authentication details may be incorrect. Start with simple checks before deleting configurations or resetting the phone.
- Confirm that ordinary internet access works while the VPN is disconnected.
- Reconnect, or try another available VPN server.
- Test Wi-Fi and cellular data separately to identify network-specific problems.
- Close and reopen the VPN app, then restart the iPhone if necessary.
- Check for updates to iOS and the VPN app.
- For manual IKEv2, verify the supplied server, IDs, and credentials.
Apple's network troubleshooting guidance notes that VPN and third-party security software can interfere with connectivity. Avoid removing workplace or school profiles without consulting the administrator, since these may contain essential certificates and network settings.
If the connection still fails, contact the VPN provider or network administrator with the error message, iPhone model, iOS version, and network type you tested. Choosing the right VPN before installation is important for both security and performance. If you're unsure which provider to use, consider the features, compatibility, and ease of use of the Best VPN for iPhone options before setting up a connection.
Frequently Asked Questions
Does Deleting the VPN App Cancel My Subscription?
No. Deleting an app does not automatically cancel its subscription. If you subscribed through Apple, open Settings → your name → Subscriptions and manage it there. Subscriptions purchased directly from a provider are generally managed through that provider.
Why Does a Banking or Streaming App Stop Working With a VPN?
Some services flag shared VPN IP addresses or require additional verification. Local-network functions can also behave differently through a VPN. Try another server or briefly disconnect to see whether the problem is VPN-related; compatibility is not guaranteed.
Must I Reinstall the VPN When Switching From Wi-Fi to Cellular Data?
Usually not. The existing app and its approved VPN configuration can work on both networks. A network change may briefly interrupt the connection, depending on the protocol and app. If reconnection repeatedly fails, check the provider's automatic-connect settings and troubleshooting guidance.
Does choosing a faster VPN affect the installation process on iPhone?
No. VPN speed does not directly affect the installation process, but choosing a Fastest VPN for iPhone can improve connection performance after setup, especially when browsing, streaming, or downloading content.